

I still remember the first time I sliced into Chicken Kiev and watched that river of lemony garlic butter spill out.
It was love at first bite. This dish is a classic for a reason.
Why I Love This Chicken Kiev
There’s something incredibly satisfying about mastering Chicken Kiev.
It feels fancy, but once you break it down, it’s all about simple steps done right.
From the first bite, you get buttery garlic and lemon that soak into every corner of the chicken.
The crispy coating seals it all in like a golden envelope. It’s dinner magic, truly.
What You’ll Need (Ingredient Highlights)
Chicken Breasts – Large and even-sized breasts work best for creating that perfect pocket.
Boneless, skinless is ideal.
Garlic Butter – A mix of soft butter, fresh lemon juice, herbs, and garlic that melts into a flavorful sauce inside the chicken.
Panko Breadcrumbs – Give a light, ultra-crispy coating.
Better than traditional breadcrumbs for this recipe.
Eggs & Flour – Help the coating stick and give that extra crunch.
Fresh Parsley & Lemon Wedges – For a bright finish that complements the richness of the butter.
Cooking Oil – Choose one with a high smoke point like light olive oil or canola for safe, even frying.
Pro Tips Before You Start
Soften the butter completely to blend in flavors evenly.
When cutting the chicken pocket, take your time—don’t cut through!
Chill the stuffed chicken for 10–15 minutes before breading for cleaner shaping.
Always test your oil with a breadcrumb—it should sizzle without burning.
Rest the fried chicken on a wire rack instead of paper towels to keep the bottom crispy.
How to Make Chicken Kiev
Step 1: Mix the Garlic Herb Butter
In a bowl, mash together the softened butter, minced garlic, lemon juice, parsley, salt, and pepper.
Work the mixture until smooth and cohesive, then set aside.
Step 2: Prepare and Stuff the Chicken
Slice each chicken breast in half lengthwise.
Cut a deep pocket into each piece without going all the way through.
Spoon the garlic herb butter into each pocket, then close and press the top gently to distribute the butter.
Pinch the edges to seal, and season both sides with salt and pepper.
Step 3: Bread the Chicken
Set up three shallow bowls or plates for breading.
Place flour in the first, beaten eggs in the second, and Panko breadcrumbs in the third.
Dredge each stuffed chicken piece in flour, shaking off excess.
Dip into the eggs to coat completely, then roll in Panko breadcrumbs.
Set aside on a platter while you finish the rest.
Step 4: Fry the Chicken Kiev
Heat a layer of oil in a deep skillet over medium heat.
When a breadcrumb sizzles in the oil, add the chicken pieces in a single layer.
Fry until golden and crisp on both sides, about 4 minutes per side.
If browning too fast, reduce the heat slightly.
Check doneness with an instant-read thermometer—it should reach 165°F inside.
Transfer to a rack to rest while frying the second batch.
Step 5: Finish and Serve
While still hot, sprinkle with a touch of salt.
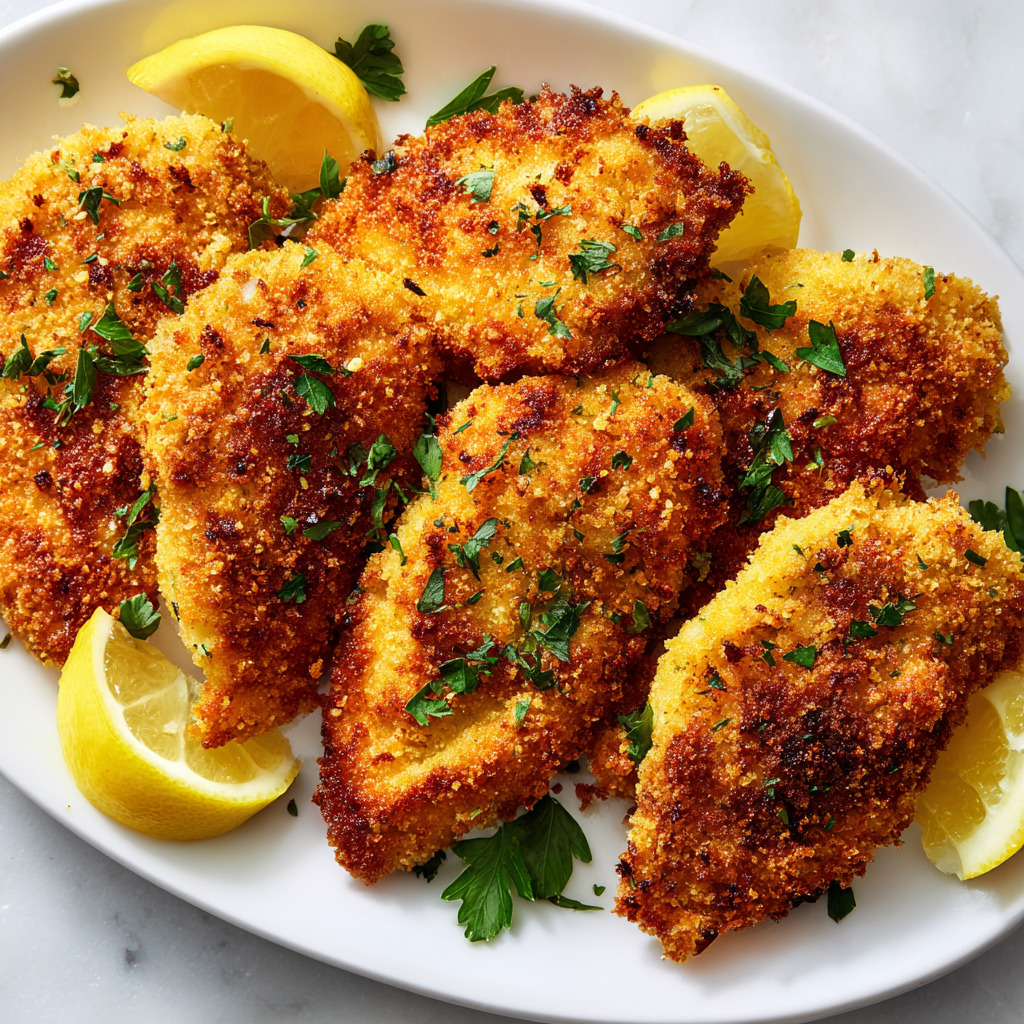
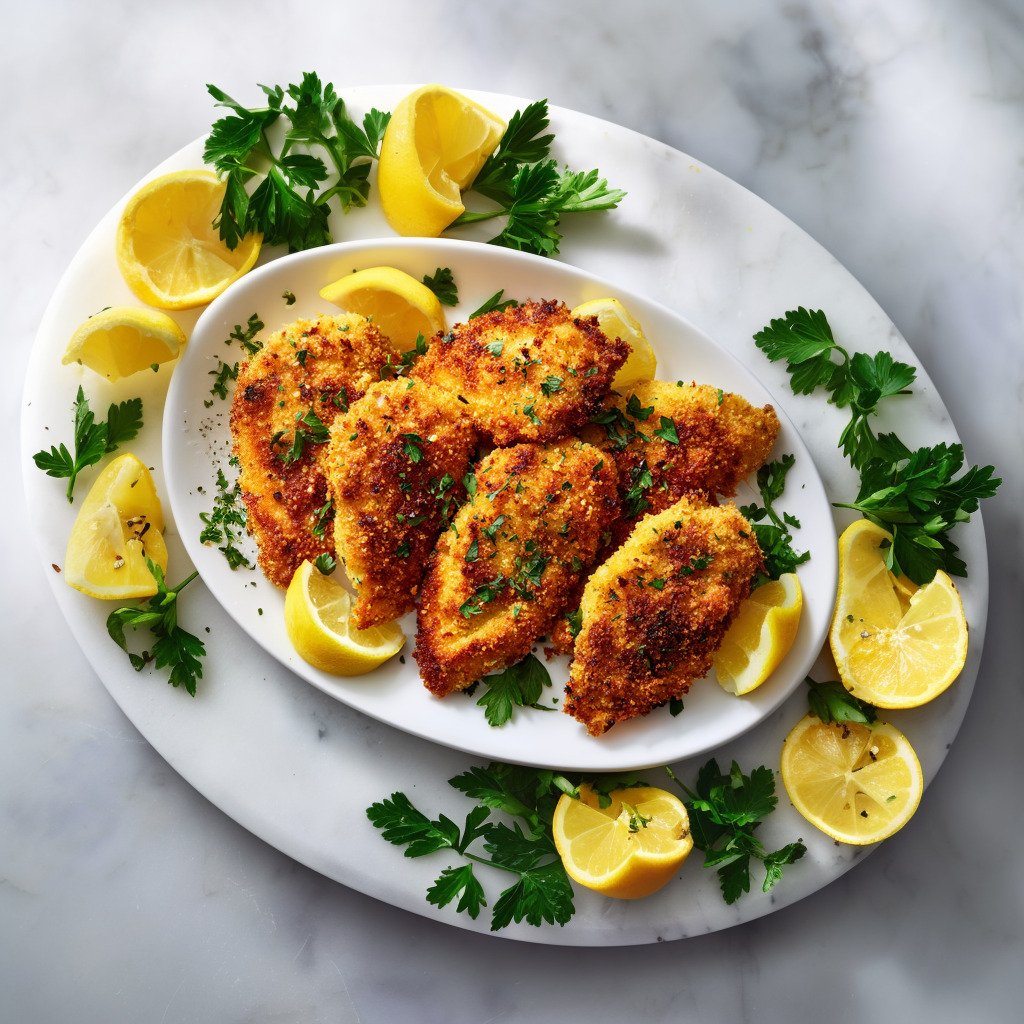
Garnish with parsley and serve with lemon wedges for squeezing.
Watch out when slicing—hot butter may spurt from the center!
What to Serve It With
Mashed potatoes or creamy polenta
Steamed green beans or asparagus
Light arugula salad with vinaigrette
A chilled glass of dry white wine or sparkling lemonade
Variations / Substitutions
Add chopped dill or thyme to the butter for a different herb profile.
Use chicken thighs if you prefer darker, juicier meat.
Air fry for a lighter version (spray well with oil for crispness).
Make it spicy with a pinch of chili flakes in the butter.
Storage & Leftovers
Store leftovers in an airtight container in the fridge for up to 3 days.
Reheat in the oven or air fryer to restore crispness—avoid microwaving, which softens the crust.
Freeze raw breaded Kievs for up to 2 months, then cook directly from frozen (add extra time).
FAQs
Can I prepare Chicken Kiev in advance?
Yes. You can stuff and bread the chicken, then refrigerate it for a few hours before frying.
Why is my butter leaking out?
Make sure the pocket is sealed well and don’t overfill.
Letting the chicken chill also helps the butter stay inside.
Can I bake instead of fry?
Yes. Bake at 400°F for 25–30 minutes or until golden and cooked through.
How do I know it’s fully cooked?
Use a thermometer. The thickest part of the chicken should be 165°F.
What if I don’t have Panko?
You can use regular breadcrumbs, but Panko gives a crispier finish.
Can I use garlic powder instead of fresh garlic?
Fresh garlic gives the best flavor, but a small amount of garlic powder can work in a pinch.
Do I have to use lemon juice in the butter?
It’s optional, but the brightness really balances the richness of the dish.
Final Thoughts
Chicken Kiev is one of those dishes that feels luxurious but comes together with pantry staples and a few techniques.
The reward? A juicy, crispy masterpiece that oozes with garlic butter and flavor in every bite.
Once you try making it from scratch, you’ll wonder why you ever thought it was complicated.
It’s a dish worth mastering—and once you do, it’ll be part of your permanent dinner rotation.

Crispy Chicken Kiev
Ingredients
For the Lemon-Herb Garlic Butter:
- 6 Tbsp unsalted butter room temp
- 1 large garlic clove minced
- 1 Tbsp lemon juice plus more lemon wedges to serve
- 2 Tbsp chopped fresh parsley plus more to garnish
- 1/2 tsp salt
- 1/2 tsp black pepper
For the Chicken Kiev:
- 3 large chicken breasts 12 oz each
- 2 eggs beaten
- 1/2 cup all-purpose flour
- 2 cups Panko bread crumbs
- 1/2 tsp salt and pepper or to taste
- Extra light olive oil or canola oil for frying
Instructions
- Combine all garlic butter ingredients in a bowl.
- Mix until lemon juice is fully incorporated.
- Cut chicken breasts in half lengthwise.
- Create a deep pocket in each piece.
- Stuff with garlic butter, close tightly, and season with salt and pepper.
- Set up three breading stations: flour, beaten eggs, and Panko.
- See full steps with tips & photos → https://mischacrossing.com/chicken-kiev/
Notes
- Freezing the butter into a log shape before stuffing makes assembly easier.
- Press the edges of the chicken firmly to seal and help prevent leaking during frying.
- A meat thermometer is the best way to ensure doneness without overcooking.