
There’s something magical about a dessert that looks fancy but takes no oven time.
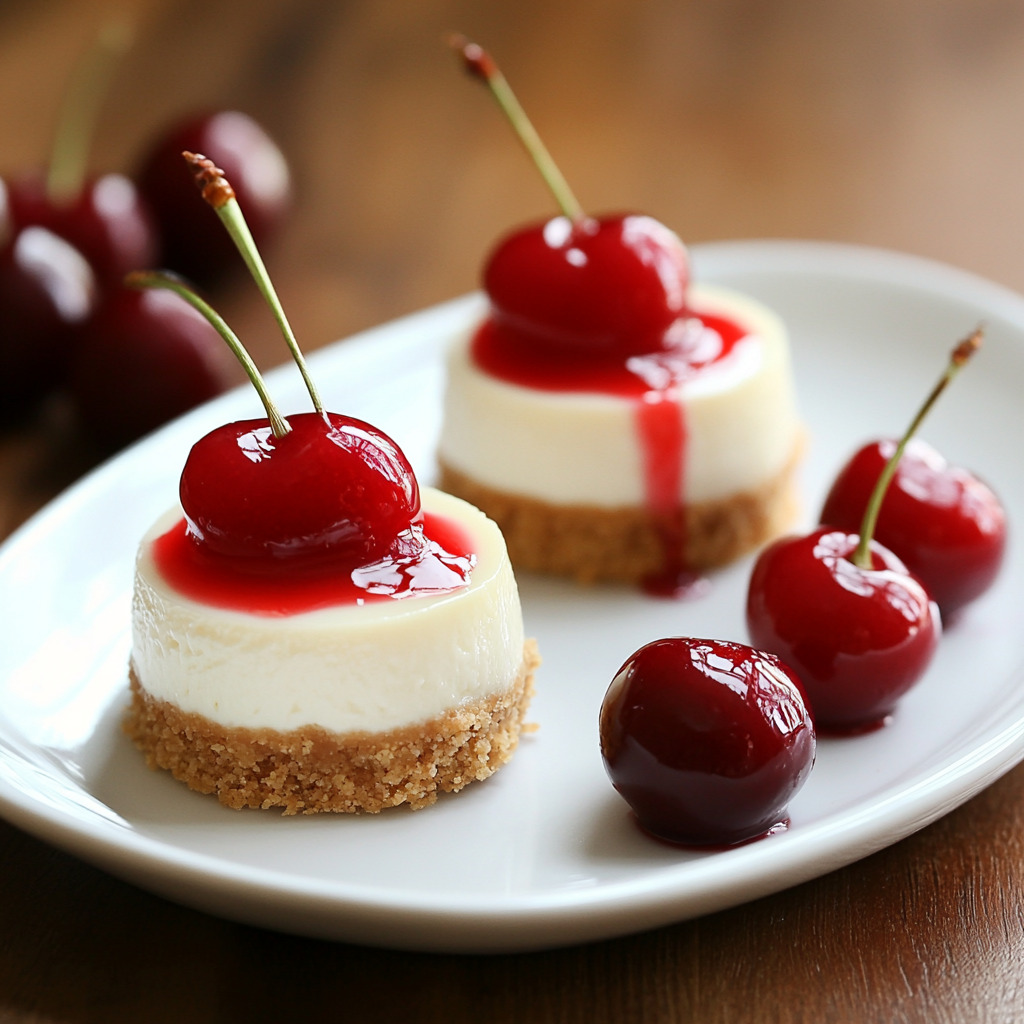
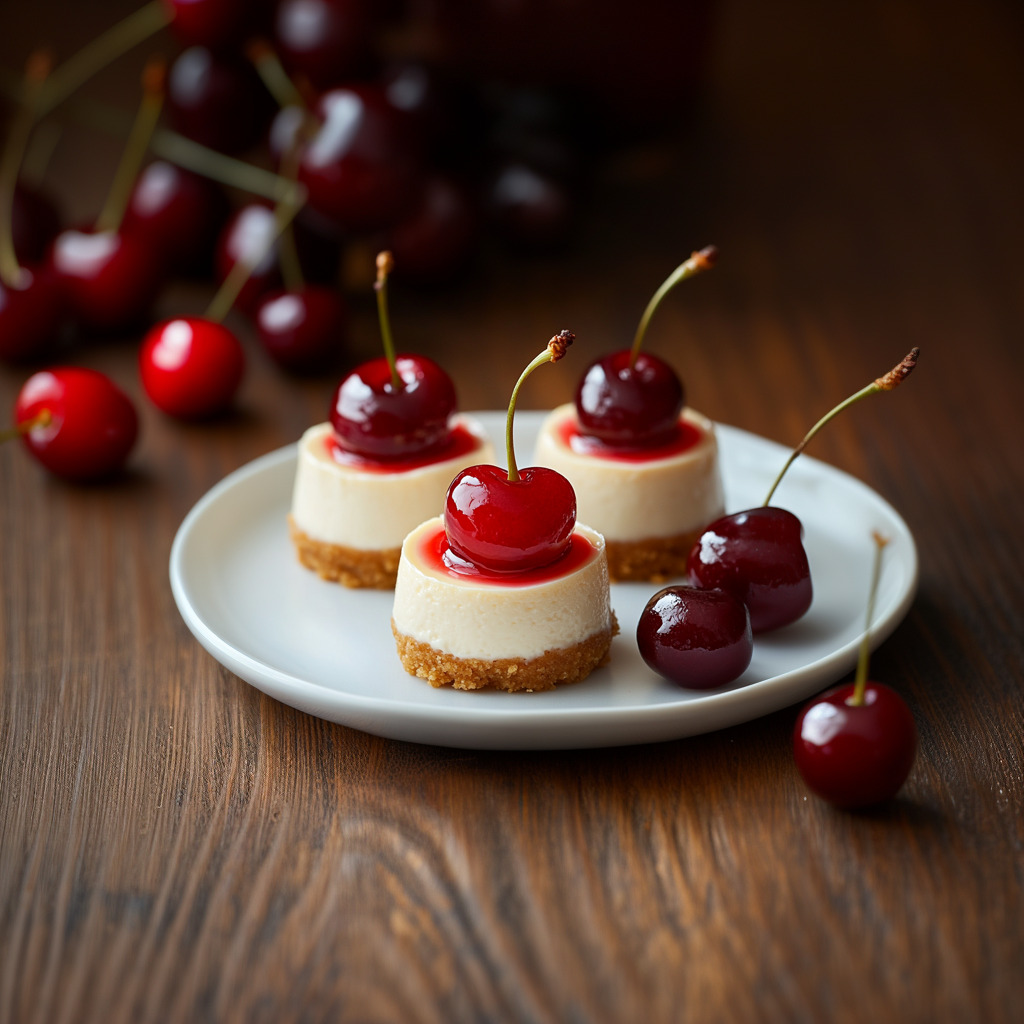
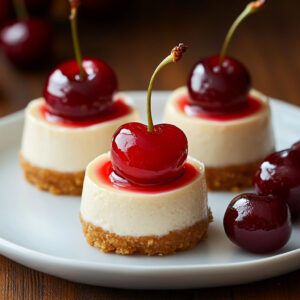
These No-Bake Mini Cheesecakes are rich, creamy, and irresistibly smooth—topped with a sweet cherry sauce that brings everything together.
Whether you’re hosting a party or just craving a treat, these bite-sized cheesecakes deliver pure delight with every spoonful.
Why You’ll Love This Recipe
No oven required – Perfect for summer or when you don’t want to turn on the heat.
Creamy, fluffy texture – Thanks to whipped cream folded into tangy cream cheese.
Sweet-tart balance – The cherry topping adds just the right fruity pop.
Individual portions – Great for gatherings, holidays, or late-night indulgence.
Make-ahead friendly – Chill overnight for maximum flavor and ease.
Kid- and crowd-approved – Everyone loves a classic cheesecake in mini form!
What You’ll Need (Ingredient Highlights)
Graham cracker crumbs – The base of our crust, crunchy and buttery.
Unsalted butter – Binds the crumbs and gives the crust richness.
Granulated sugar – Lightly sweetens both the crust and filling.
Cream cheese – Use full-fat, room temperature blocks for the creamiest texture.
Sour cream – Adds tang and smoothness to balance the richness.
Lemon juice – Freshly squeezed for brightness and depth.
Heavy whipping cream – Beaten to stiff peaks for a fluffy, mousse-like finish.
Cherry topping – A classic pairing for cheesecake—bright, juicy, and nostalgic.
Pro Tips Before You Start
Use full-fat cream cheese – Reduced fat won’t set as firmly.
Soften cream cheese fully – It’s key to avoiding lumps in your filling.
Whip cream separately – Fold gently to maintain light, airy texture.
Use paper liners – They make unmolding a breeze and keep servings neat.
Chill thoroughly – The longer they set, the better the texture.
How to Make No-Bake Mini Cheesecakes
Step 1: Prepare the Pan
Line a muffin tin with 12 paper cupcake liners.
If making more than 12 (you’ll get about 14), use ramekins for the extra two.
Step 2: Make the Crust
In a medium bowl, stir together 1½ cups graham cracker crumbs and 1 tablespoon sugar.
Pour in 8 tablespoons melted butter and stir until fully moistened.
Spoon about 2 tablespoons of the mixture into each liner and press down firmly to form an even crust.
Step 3: Beat the Cream Cheese Mixture
In a large bowl, use a hand mixer to beat 16 oz cream cheese and ⅔ cup sugar on medium-high speed for about 3 minutes until completely smooth.
Scrape the sides. Add 2 tablespoons sour cream and 2 tablespoons lemon juice, then beat for another minute.
Step 4: Whip the Cream
Clean the mixer. In a second bowl, beat 1 cup heavy whipping cream on medium-high speed until stiff peaks form (about 3 minutes).
Step 5: Fold and Fill
Using a spatula, gently fold the whipped cream into the cream cheese mixture until completely incorporated and fluffy.
Scoop the filling evenly into the liners, filling just to the top.
Smooth the surface with the back of a spoon or offset spatula.
Step 6: Chill Thoroughly
Refrigerate the cheesecakes for at least 6 hours, or preferably overnight.
After 2 hours, cover them loosely with plastic wrap.
Step 7: Make the Cherry Topping
While chilling, prepare your cherry sauce (homemade or store-bought).
Let it cool to room temperature, then cover and refrigerate.
Step 8: Serve and Enjoy
Before serving, carefully remove the paper liners (they come off easier while cold).
Spoon chilled cherry topping generously over each mini cheesecake.
Enjoy immediately or keep chilled until ready to serve.
What to Serve It With
Fresh berries – Blueberries or raspberries pair beautifully.
Espresso or iced coffee – Cut through the richness.
Whipped cream – For an extra touch of decadence.
Crushed graham crackers – Sprinkle on top for texture.
Sparkling wine – Elegant for parties or celebrations.
Variations / Substitutions
Swap the topping – Try blueberry, strawberry, or lemon curd instead of cherry.
Go crustless – Spoon the filling into small dessert cups for a low-carb version.
Make it chocolate – Add cocoa powder and melted chocolate to the filling.
Add citrus zest – Lemon or orange zest in the filling adds a subtle brightness.
Use Oreos – For a cookies-and-cream twist, replace graham crackers with Oreo crumbs.
Storage & Leftovers
Fridge – Store in an airtight container for up to 5 days.
Freezer – Freeze without the topping. Wrap tightly and store up to 1 month.
Refrigerate after topping – Cherry topping softens the filling over time; serve within 2 days once topped.
Thawing tip – If frozen, thaw overnight in the fridge before serving.
FAQs
Can I make these ahead of time?
Absolutely! Make them the day before and chill overnight for best results.
Can I use store-bought cherry topping?
Yes! Just make sure it’s chilled before using.
Do I have to use sour cream?
It adds a slight tang, but you can substitute with plain Greek yogurt.
Can I skip the lemon juice?
Not recommended—it balances the sweetness and helps the texture.
Will this work with mini muffin tins?
Yes, just reduce crust and filling amounts by half per cup and watch the chill time.
Can I use whipped topping instead of fresh whipped cream?
You can, but the texture will be slightly less fluffy and rich.
Do I need a stand mixer?
No—an electric hand mixer works perfectly!
Final Thoughts
These no-bake mini cheesecakes are everything I love in a dessert: creamy, simple, elegant, and endlessly customizable.
They come together with ease, yet feel special enough for birthdays, holidays, or just a cozy night in. I always keep a stash in the fridge—they disappear fast!
Cherry-Topped No-Bake Mini Cheesecakes
Ingredients
For the Graham Cracker Crust:
- 1½ cups graham cracker crumbs about 12 crackers
- 1 tbsp granulated sugar
- 8 tbsp unsalted butter melted
For the Cheesecake Filling:
- 16 oz cream cheese room temperature
- ⅔ cup granulated sugar
- 2 tbsp sour cream
- 2 tbsp lemon juice freshly squeezed
- 1 cup heavy whipping cream
- Cherry topping store-bought or homemade
Instructions
- Line a muffin tin with 12 cupcake liners. Use ramekins for any extra.
- Combine graham cracker crumbs, sugar, and melted butter.
- Divide between liners and press to form crust.
- Beat cream cheese and sugar until smooth (3 mins).
- Add sour cream and lemon juice; beat 1 more min.
- In a clean bowl, whip cream until stiff peaks form.
- Fold whipped cream into cream cheese mixture.
- See full steps with tips & photos → https://mischacrossing.com/no-bake-mini-cheesecakes/
Notes
- No Crumb Left Behind: A shot glass or spice jar is perfect for pressing crust into liners evenly.
- Flavor Twist: Swap cherry topping for blueberry, strawberry, lemon curd, or chocolate ganache!
- Crust Options: Try using Oreo crumbs, vanilla wafers, or shortbread for a different base.
- Make Ahead: These mini cheesecakes can be made up to 2 days in advance. Store covered in the fridge.